Using OPNsense as virtual router and switch in proxmox
A guide to Using OPNsenseas virtual router and switch in proxmox
Virtualizing OPNsense on Proxmox as Your Primary Router - YouTube
Virtualize OPNsense on Proxmox as Your Primary Router
At the login prompt, enter installer as the username and opnsense as the password to continue installing OPNsense.
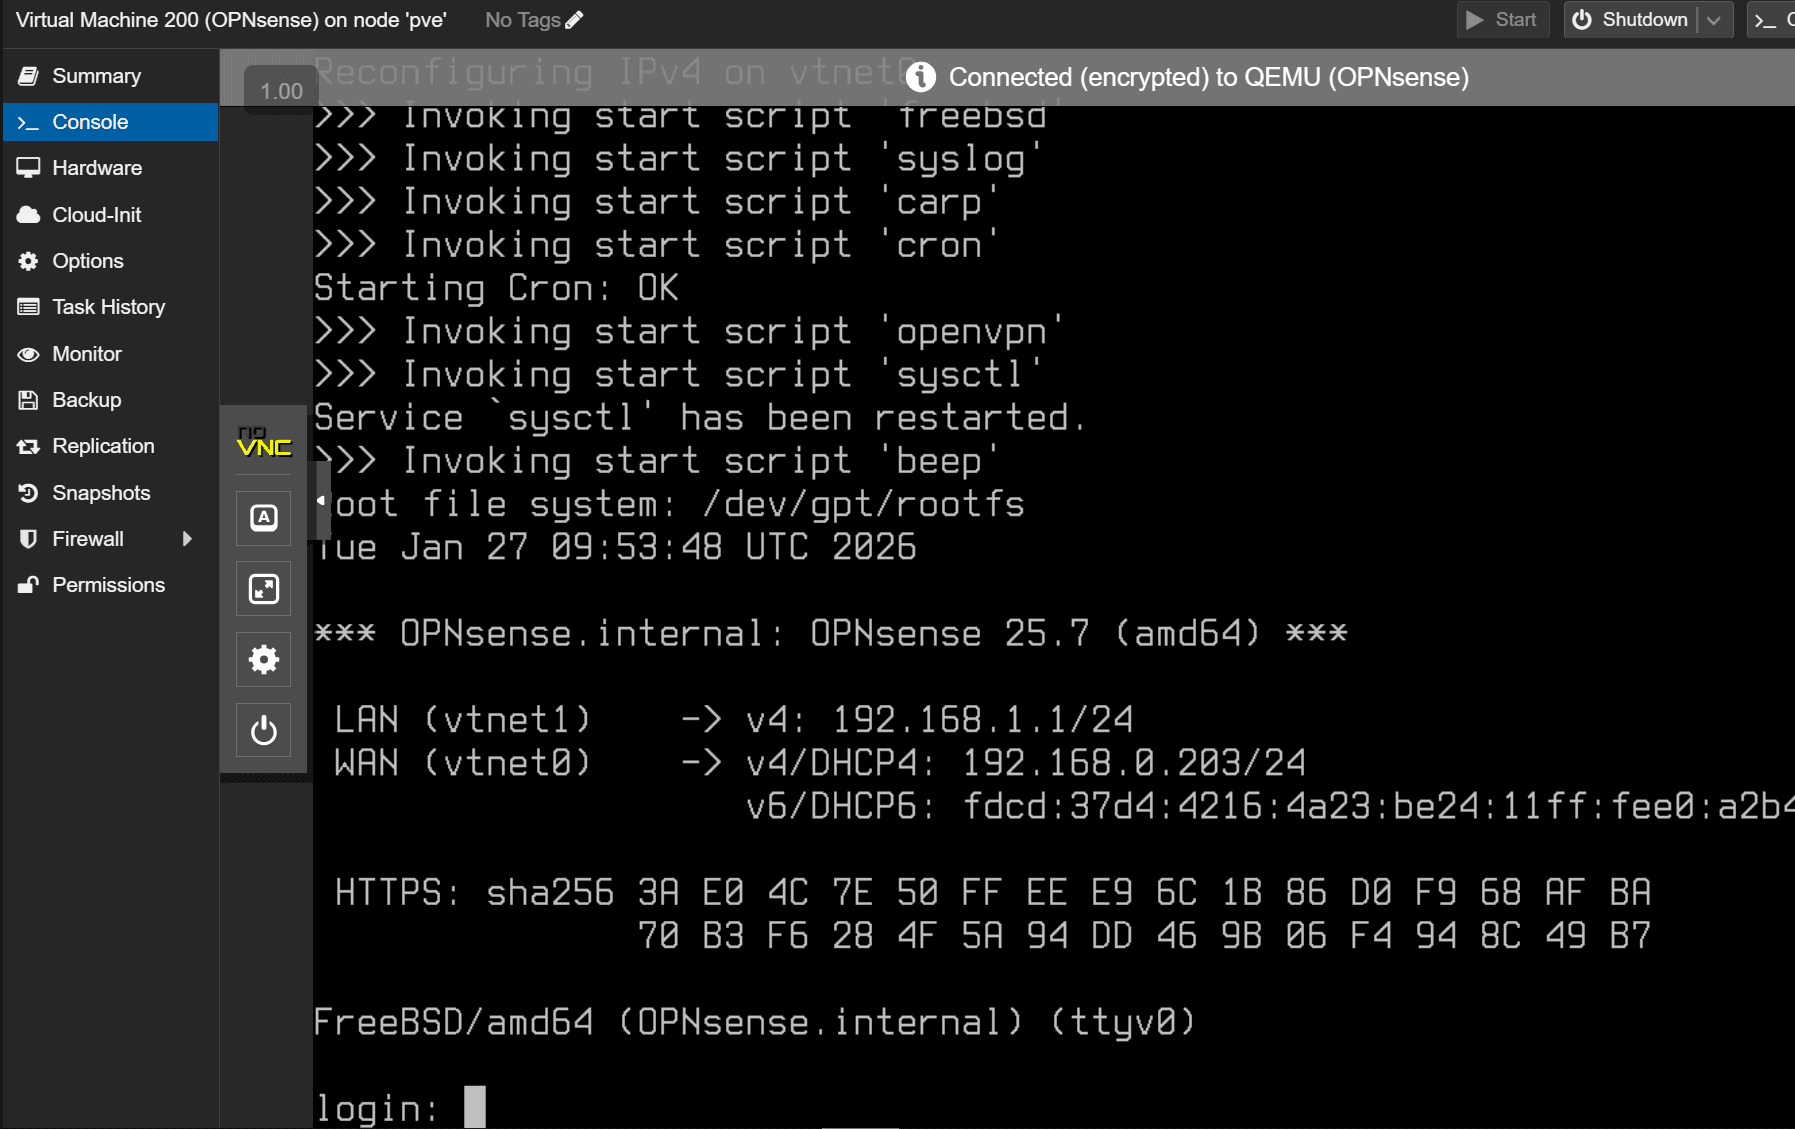
Access from Wan port
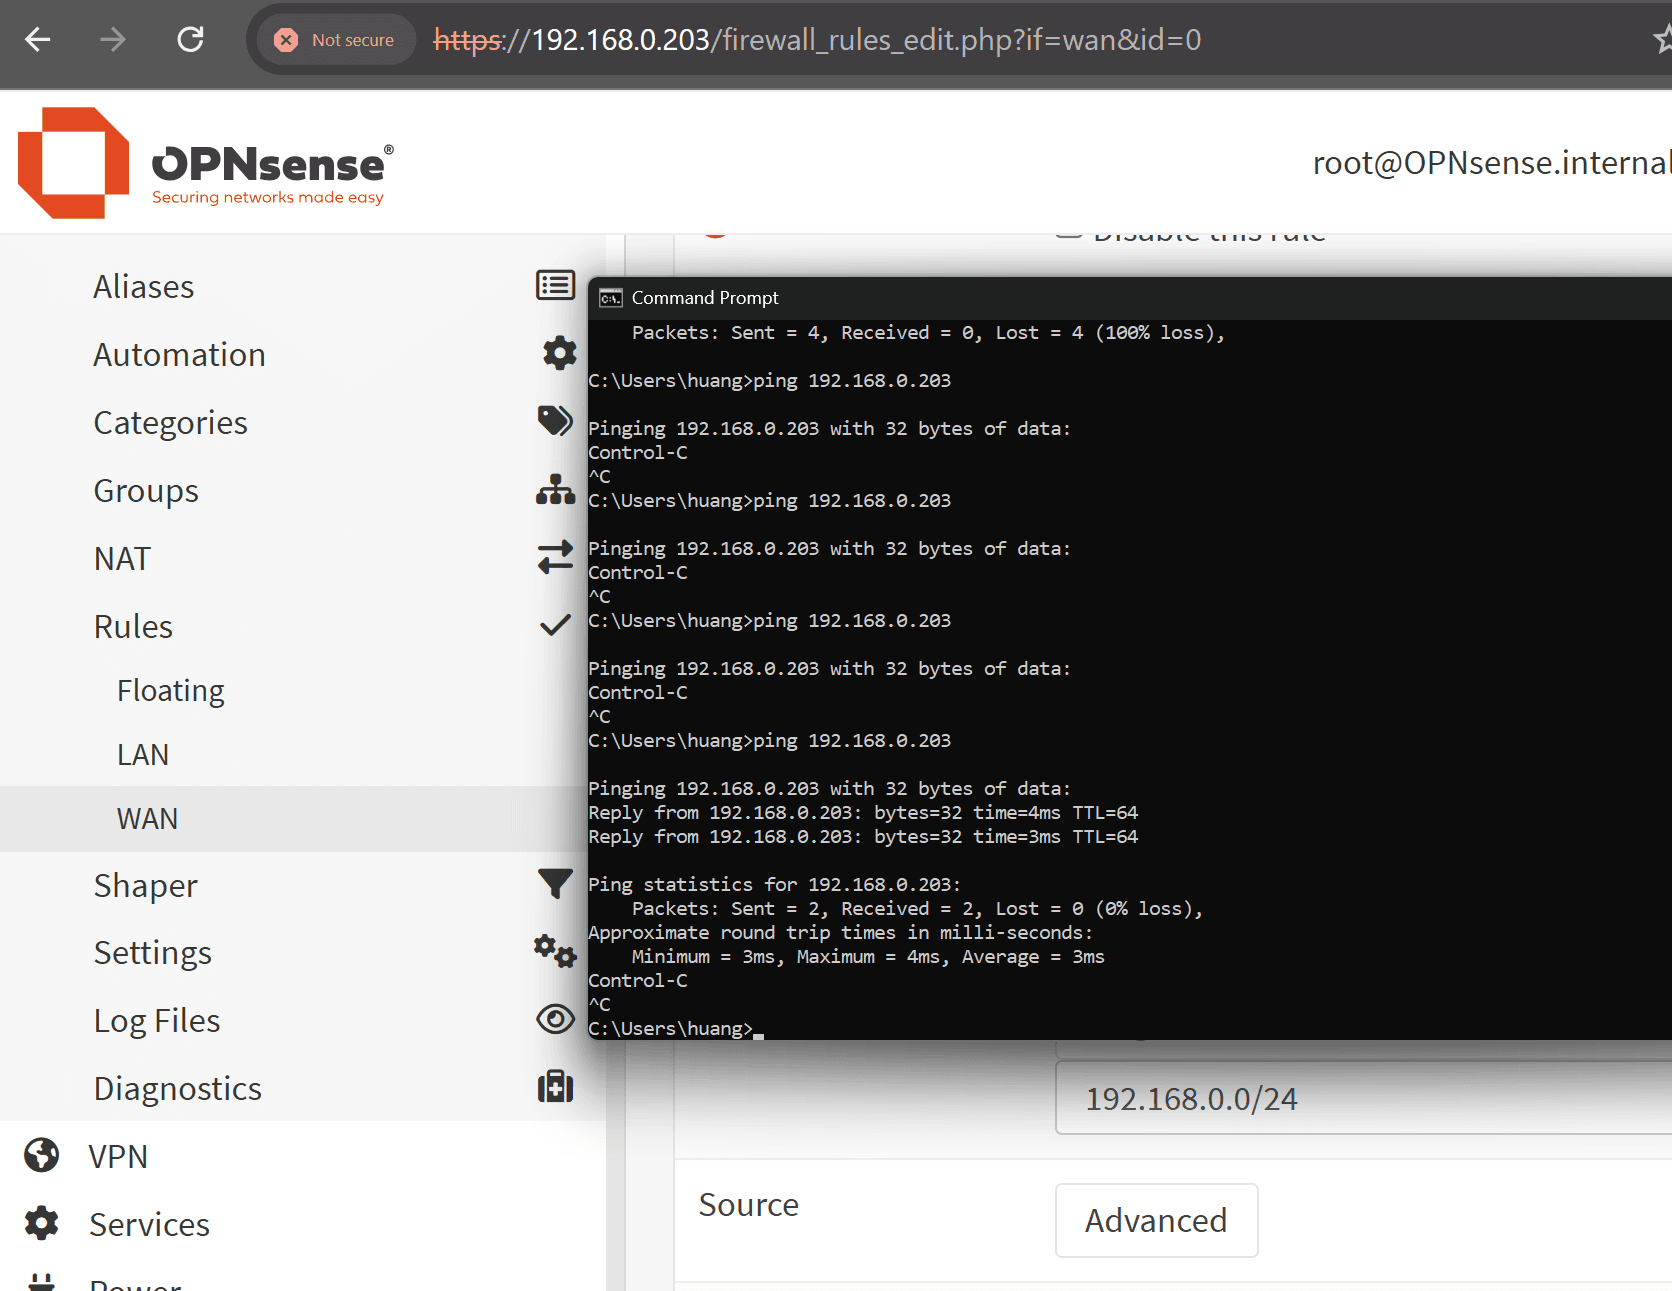
By default OPNsense blocks inbound traffic on WAN (including ping and Web GUI), so you usually cannot ping or open https://192.168.0.203
from your main LAN unless you explicitly allow it.
[SOLVED] Unable to access WebGUI via WAN interface
Use Static Routing to Second OPNsense Router with NAT Disabled for a Homelab
default password root - opnsense
1) Fix WAN interface “private networks” block
Because your WAN is 192.168.0.203/24 (private LAN), the WAN option Block private networks must be OFF.
-
Go to Interfaces → WAN
-
Uncheck Block private networks (and apply)
This feature is intended for a real public WAN; if your WAN is RFC1918 it will block traffic.
2) Make sure the Web GUI listens on WAN (or All)
-
Go to System → Settings → Administration
-
Find Listen interfaces
-
Set to All (or explicitly include WAN)
If this is set to LAN-only, the GUI will never answer on https://192.168.0.203.
3) Add WAN firewall rules to allow access to the firewall itself
OPNsense does not allow GUI access on WAN by default; you must add a rule on WAN.
A) Allow HTTPS to the firewall (recommended: only from your PC IP)
Go to Firewall → Rules → WAN → + (Add)
Set:
-
Action: Pass
-
Protocol: TCP
-
Source: your admin PC IP (example
192.168.0.50) orWAN net (192.168.0.0/24) -
Destination: This firewall (or WAN address)
-
Destination port: 443 (HTTPS)
Save → Apply.
B) Allow ping (ICMP) to the firewall (optional)
Add another WAN rule:
-
Action: Pass
-
Protocol: ICMP
-
ICMP type: Echo request
-
Source: your admin PC IP (or
WAN net) -
Destination: WAN address
Setup DHCP/DNS/Internet access
Confirm OPNsense itself has internet on WAN
In OPNsense GUI:
Interfaces → Diagnostics → Ping
-
Address family: IPv4
-
Host:
1.1.1.1 -
Source address: WAN
Ensure LAN (or VLAN) firewall rules allow outbound
Go to:
Firewall → Rules → LAN (or your VLAN interface tab)
You need a rule like:
-
Action: Pass
-
IPv4 (and optionally IPv6)
-
Source: LAN net (192.168.1.0/24)
-
Destination: any
Without an allow rule on that interface, traffic is blocked.
If your VM is actually on a VLAN interface (not plain LAN), you must add the allow rule under that VLAN tab, not LAN.
Fix/verify Outbound NAT (most likely)
In OPNsense:
-
Firewall → NAT → Outbound
-
Set mode to Automatic outbound NAT rule generation (or Hybrid if you need custom rules)
-
Save → Apply
Then check the generated rules list includes your LAN/VLAN subnet (e.g. 192.168.1.0/24) translating to WAN address.
If you must do it manually (only if you’re in Manual mode):
-
Interface: WAN
-
Source: 192.168.1.0/24 (or your VLAN subnet)
-
Translation / target: Interface address (WAN)