Self-Hosting WireGuard with WGDashboard Using Docker
Step-by-step guide to deploying WGDashboard with Docker Compose, exposing the web UI securely on localhost, and managing a WireGuard server on a VPS.
Introduction
WireGuard is a lightweight, high-performance VPN protocol. Managing peers manually through CLI works well, but a web UI simplifies peer management, configuration generation, and monitoring.
In this guide, we deploy WGDashboard using Docker on a VPS.
The setup:
- VPS public IP:
168.138.9.158 - Web UI exposed only on
127.0.0.1:51821 - WireGuard UDP port:
51820 - Timezone:
Australia/Sydney(AEST)
This approach keeps the management interface private while allowing VPN clients to connect normally.
Prerequisites
- Linux VPS (Ubuntu 22.04/24.04 recommended)
- Docker and Docker Compose installed
- UDP port 51820 open in firewall/security group
Install Docker if needed:
sudo apt update
sudo apt install docker.io docker-compose-plugin -y
sudo systemctl enable dockerCreate Project Directory
mkdir ~/wgdashboard
cd ~/wgdashboard
Create a docker-compose.yml file:
version: "3.8"

services:
  wgdashboard:
    image: donaldzou/wgdashboard:latest
    container_name: wgdashboard
    restart: unless-stopped
    environment:
      - TZ=Australia/Sydney
      - GLOBAL_DNS=1.1.1.1
      - PUBLIC_IP=168.138.9.158
    ports:
      - "127.0.0.1:51821:10086/tcp"
      - "51820:51820/udp"
    volumes:
      - wgdashboard_conf:/etc/wireguard
      - wgdashboard_data:/data
    cap_add:
      - NET_ADMIN

volumes:
  wgdashboard_conf:
  wgdashboard_data:
Start the Container
docker compose up -dCheck status:
docker psAccess the Web Dashboard
Since the UI is bound to 127.0.0.1, it is not publicly accessible.
From the VPS itself:
http://127.0.0.1:51821- Or place Nginx in front as a reverse proxy with HTTPS and authentication.
server {
    listen 80;
    listen [::]:80;
    server_name wireguard.greenhuang.com;
    return 302 https://$server_name$request_uri;
}

server {
    listen 443 ssl http2;
    listen [::]:443 ssl http2;
    server_name wireguard.greenhuang.com;

    ssl_certificate     /home/ubuntu/ssl/cert.pem;
    ssl_certificate_key /home/ubuntu/ssl/key.pem;

    # prevent search indexing
    add_header X-Robots-Tag "noindex, nofollow, noarchive, nosnippet, noimageindex" always;

    # block bots explicitly
    location = /robots.txt {
        return 200 "User-agent: *\nDisallow: /\n";
        add_header Content-Type text/plain;
    }

    # reverse-proxy to the wg-easy dashboard
    location / {
        proxy_pass       http://127.0.0.1:51821;
        proxy_set_header Host              $host;
        proxy_set_header X-Real-IP         $remote_addr;
        proxy_set_header X-Forwarded-For   $proxy_add_x_forwarded_for;
        proxy_set_header X-Forwarded-Proto $scheme;
    }
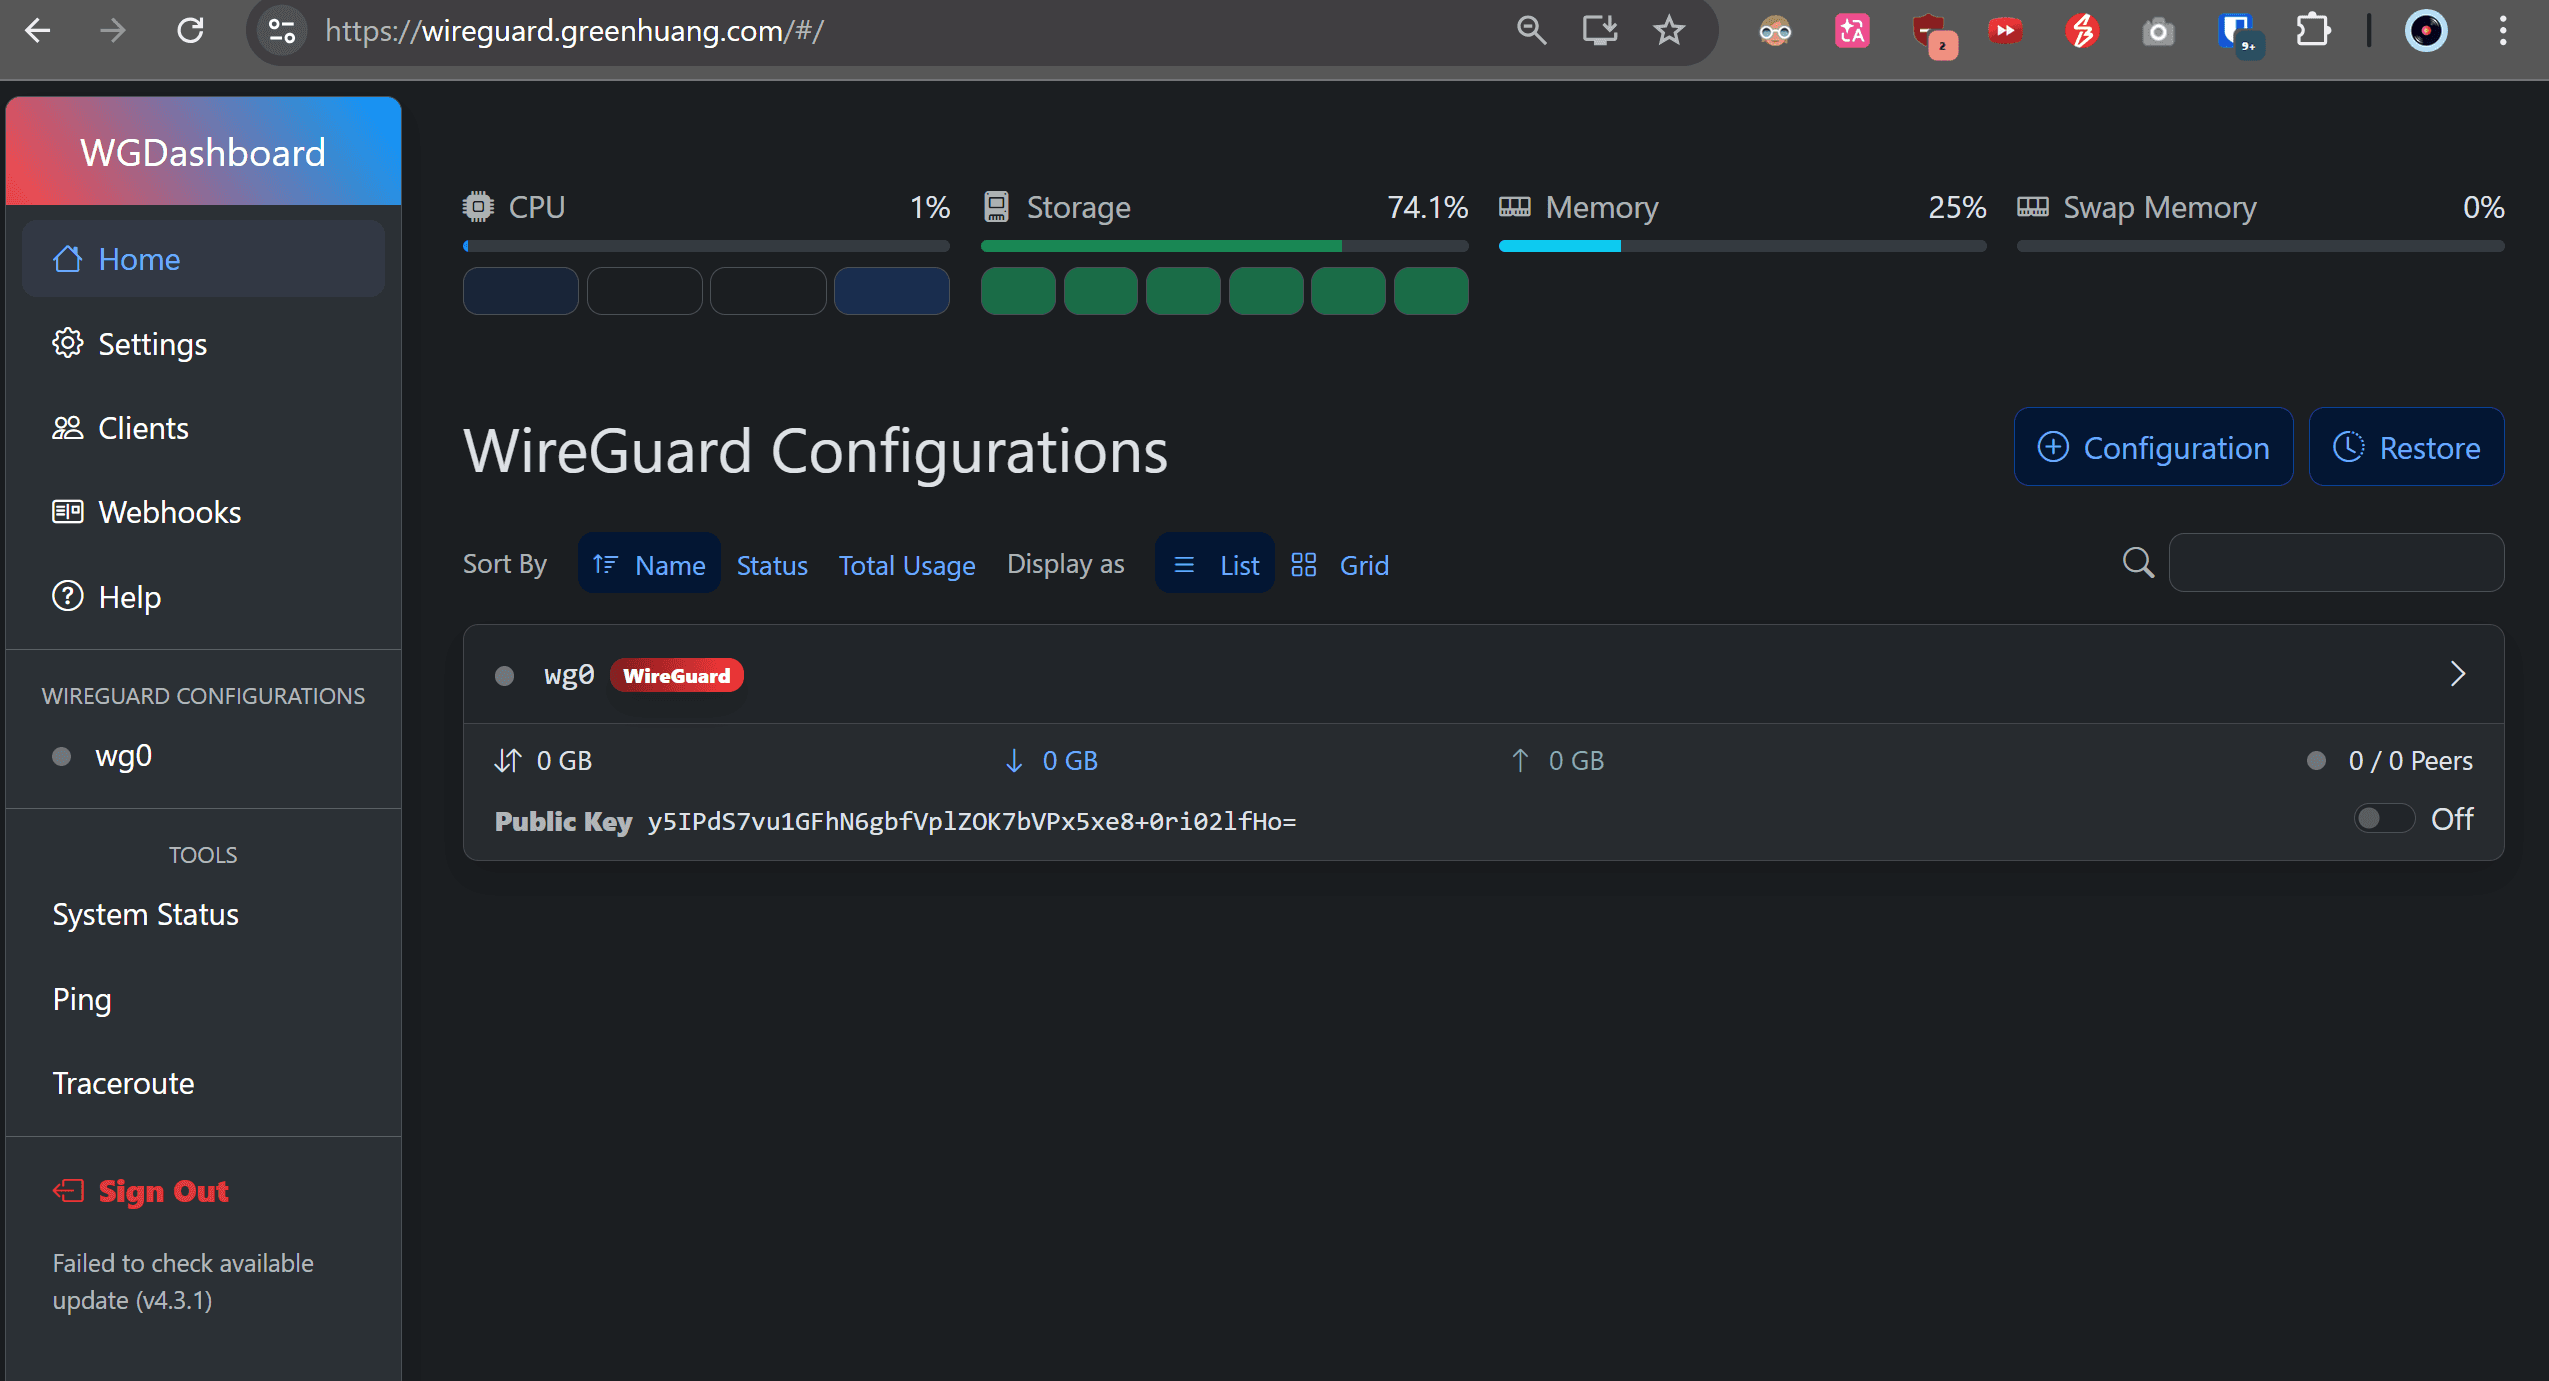
}
Default Login
Initial credentials:
- Username:
admin - Password:
admin
Change the password immediately after login.
How It Works
-
Port
51820/udpallows WireGuard clients to connect. -
The dashboard listens internally on port
10086. -
Docker maps it to
127.0.0.1:51821for local-only access. -
WireGuard configurations persist in Docker volumes.
Firewall Example (Ubuntu UFW)
Allow only WireGuard traffic:
sudo ufw allow 51820/udp
sudo ufw enable
No need to open port 51821 since it is bound to localhost.
Verifying the VPN
After creating a peer in WGDashboard:
-
Download the client configuration.
-
Import into WireGuard client.
-
Connect and test:
ping <vpn-server-ip>If routing is configured correctly, the handshake should appear in the dashboard.
typical WireGuard server Configurations
[Interface]
Address = 10.0.0.1/24
DNS = 9.9.9.9
SaveConfig = true
PostUp = iptables -t nat -I POSTROUTING 1 -s 10.0.0.1/24 -o eth0 -j MASQUERADE; iptables -I FORWARD -i wg0 -o wg0 -j DROP
PreDown = iptables -t nat -D POSTROUTING -s 10.0.0.1/24 -o eth0 -j MASQUERADE; iptables -D FORWARD -i wg0 -o wg0 -j DROP
ListenPort = 51820
PrivateKey = <client-private-key>

[Peer]
PublicKey = <server-public-key>
AllowedIPs = 10.0.0.2/32
WireGuard client Configurations
[Interface]
PrivateKey = <client-private-key>
Address = 10.0.0.2/32
MTU = 1420
DNS = 9.9.9.9

[Peer]
PublicKey = <server-public-key>
AllowedIPs = 0.0.0.0/0
Endpoint = <vpn-server-ip>:51820
PersistentKeepalive = 21
Conclusion
Using Docker to deploy WGDashboard provides:
-
Easy peer management
-
Persistent configuration storage
-
Controlled access to the web UI
-
Clean separation from host networking
This setup works well for VPS-to-homelab tunnels, site-to-site connections, or secure remote access environments.