Microsoft 365 Tenant Setup and Getting Started
A basic guide to understanding Microsoft 365 plans and creating a new tenant for email hosting and cloud services.
Get stared
Microsoft 365 plan for your business
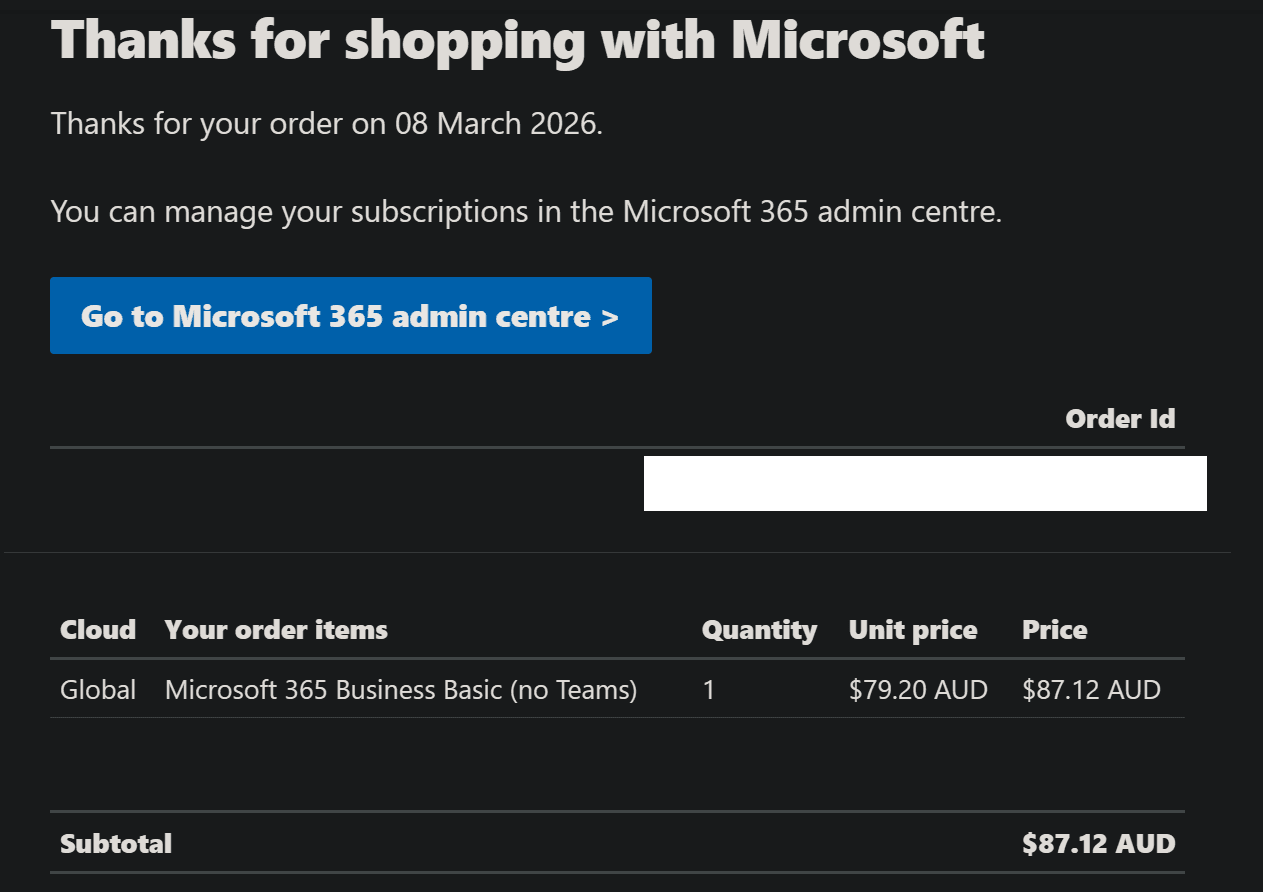
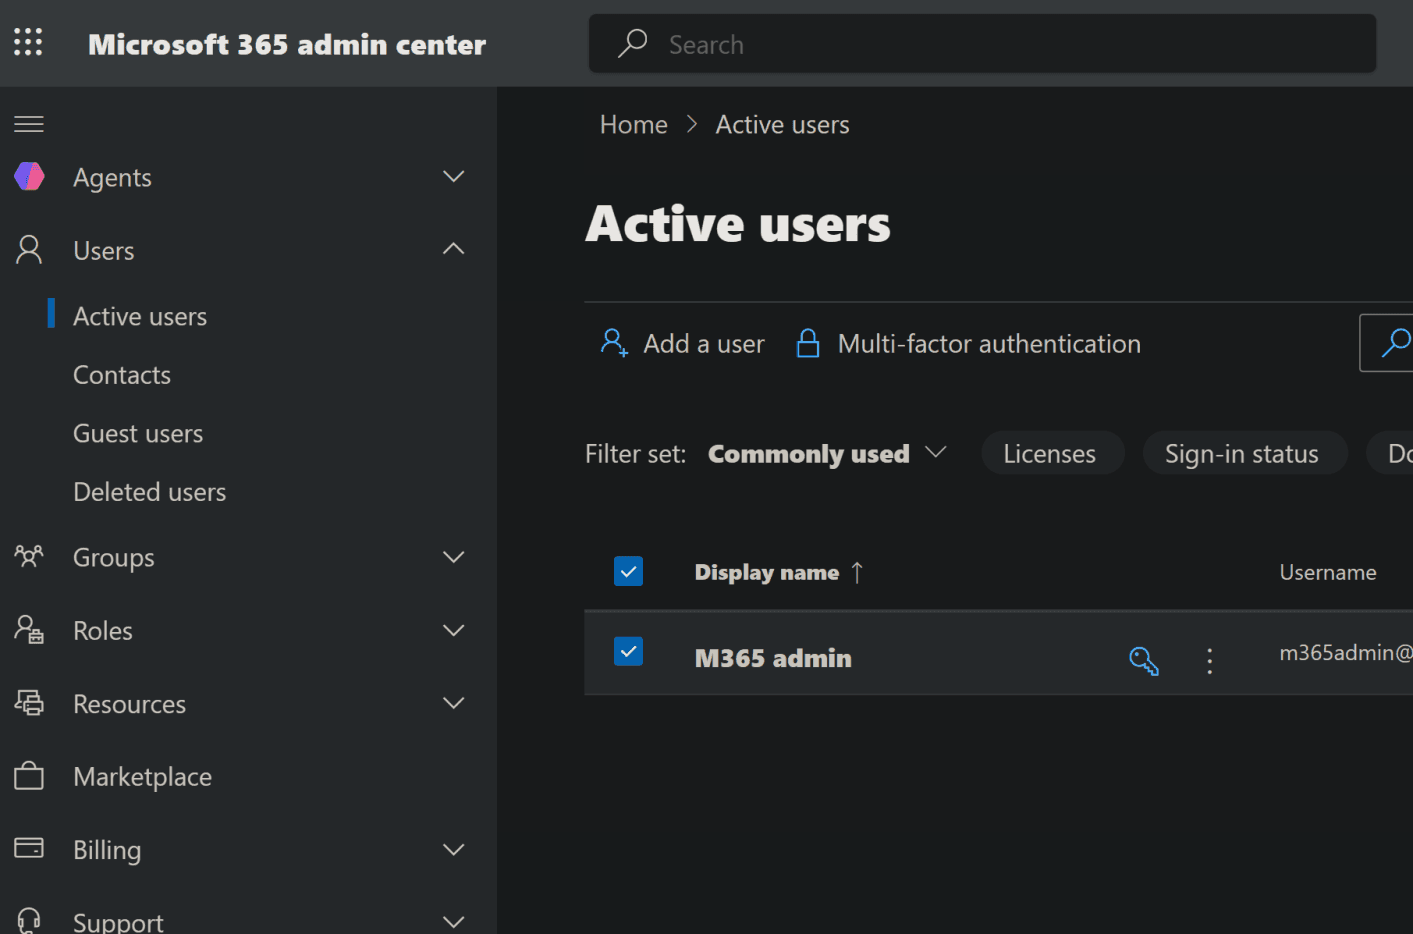
plan comparison
| Feature | Exchange Online Plan 1 | Business Basic (no Teams) |
|---|---|---|
| Email hosting | ✔ | ✔ |
| Mailbox size | 50 GB | 50 GB |
| Shared mailboxes | ✔ | ✔ |
| Outlook Web | ✔ | ✔ |
| Custom domain email | ✔ | ✔ |
| OneDrive storage | ✘ | ✔ 1 TB |
| SharePoint | ✘ | ✔ |
| Office Web Apps | ✘ | ✔ Word/Excel/PowerPoint online |
| Microsoft Teams | optional | optional / removed in “no Teams” version |
| Collaboration apps | ✘ | ✔ Planner, Forms, etc. |
| Cost annually | A$72.00 | A$79.00 |
connect a custom domain to Microsoft
To connect a custom domain to Microsoft 365, first add the domain in the Microsoft 365 admin center. Go to Admin Center → Settings → Domains → Add domain, enter the domain name, and follow the verification step. Microsoft will provide a TXT record that must be added to your DNS provider to confirm ownership of the domain. Once the verification record is detected, the domain becomes available in the tenant.
Connect Your Domain by Adding DNS Records - Microsoft 365 admin | Microsoft Learn
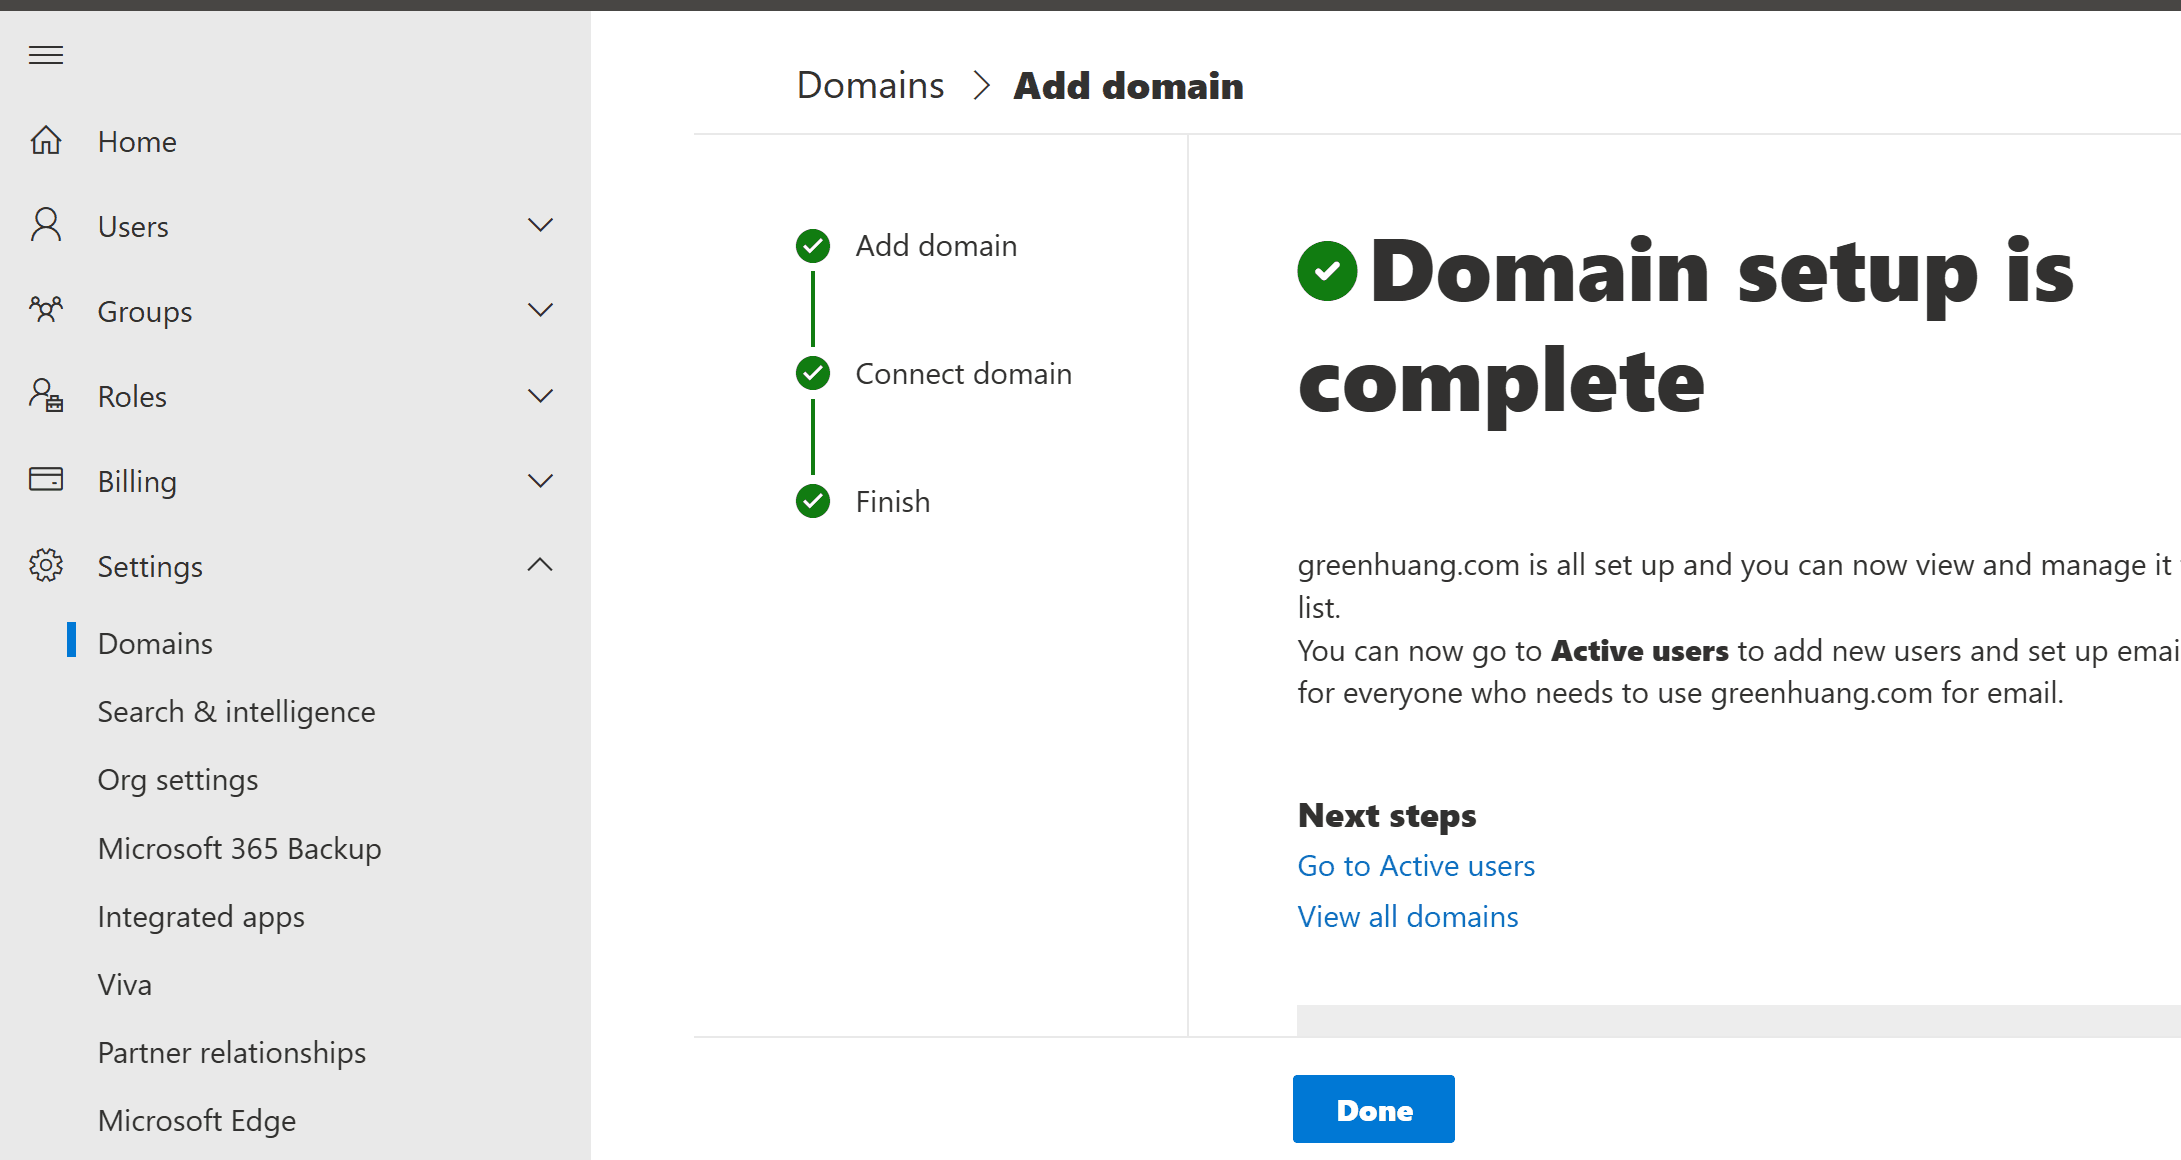
after add the domain with spf & dkim record automatic. we need manually add dmarc in dns portal as atxt record name is _dmarc
v=DMARC1; p=quarantine; pct=100; rua=mailto:[email protected]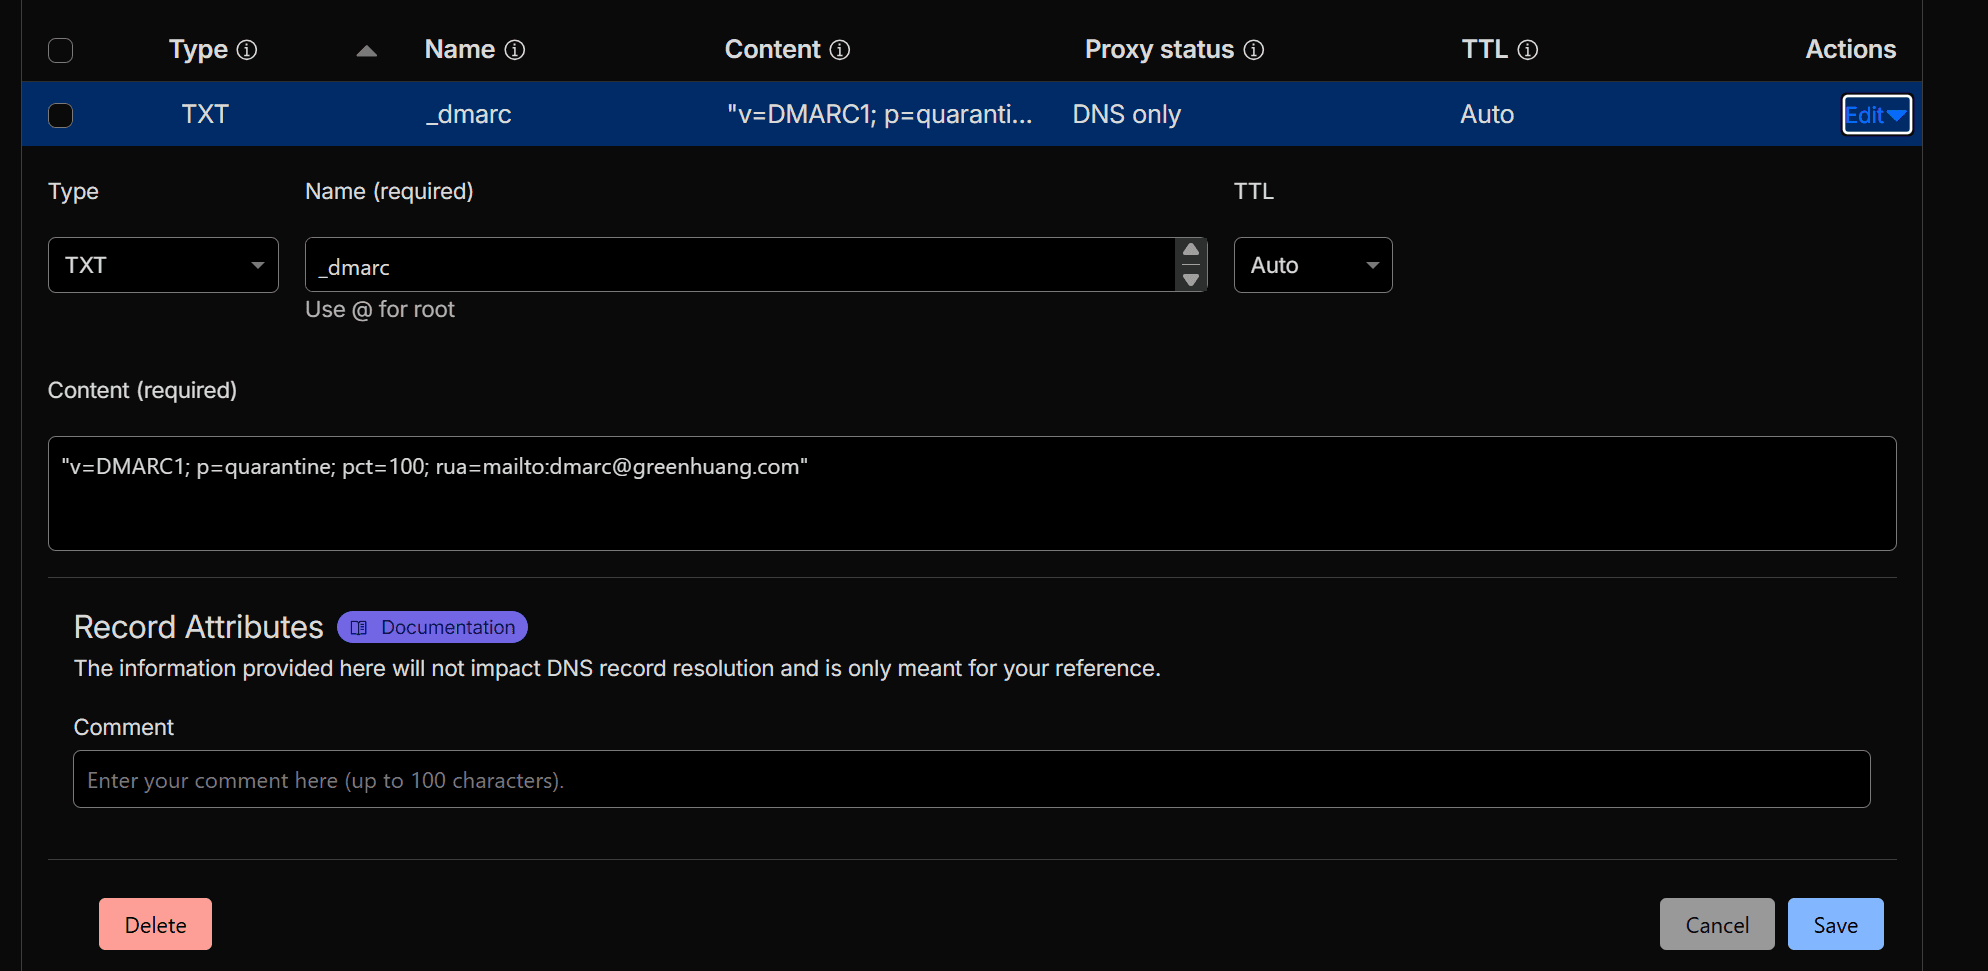
and then use this website DMARC Domain Checker - dmarcian to validate your record
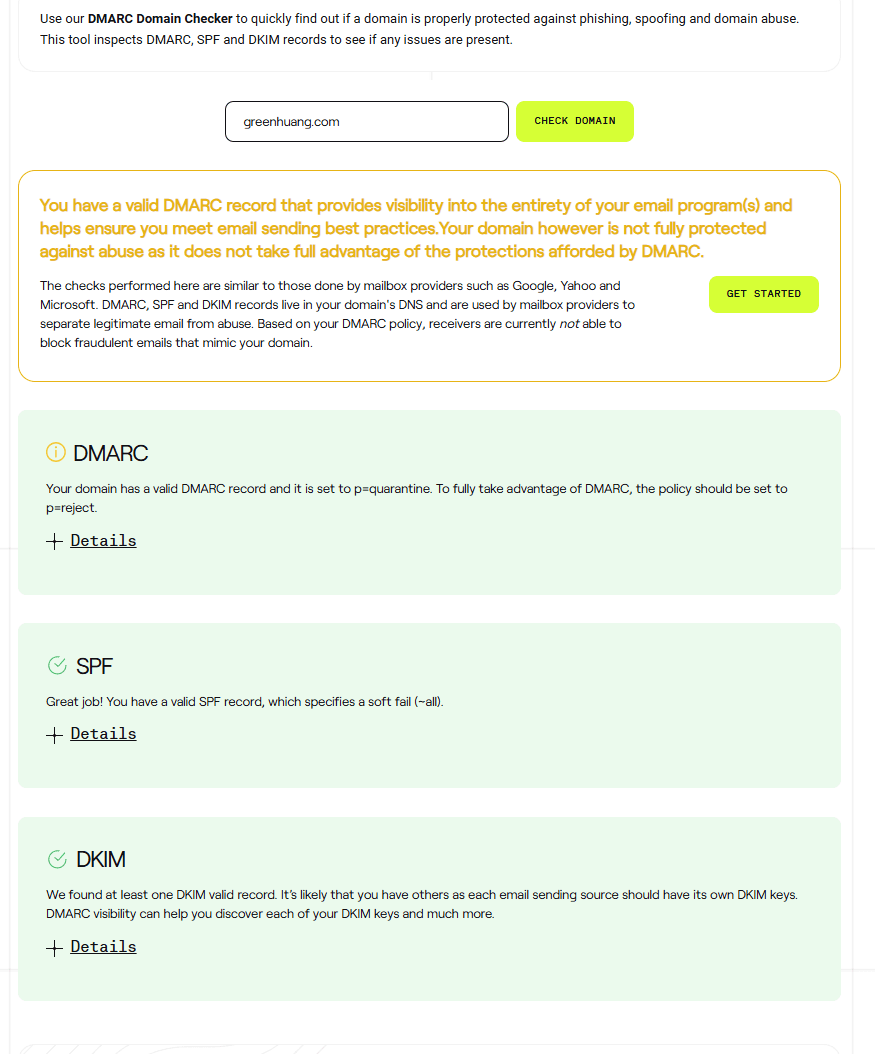
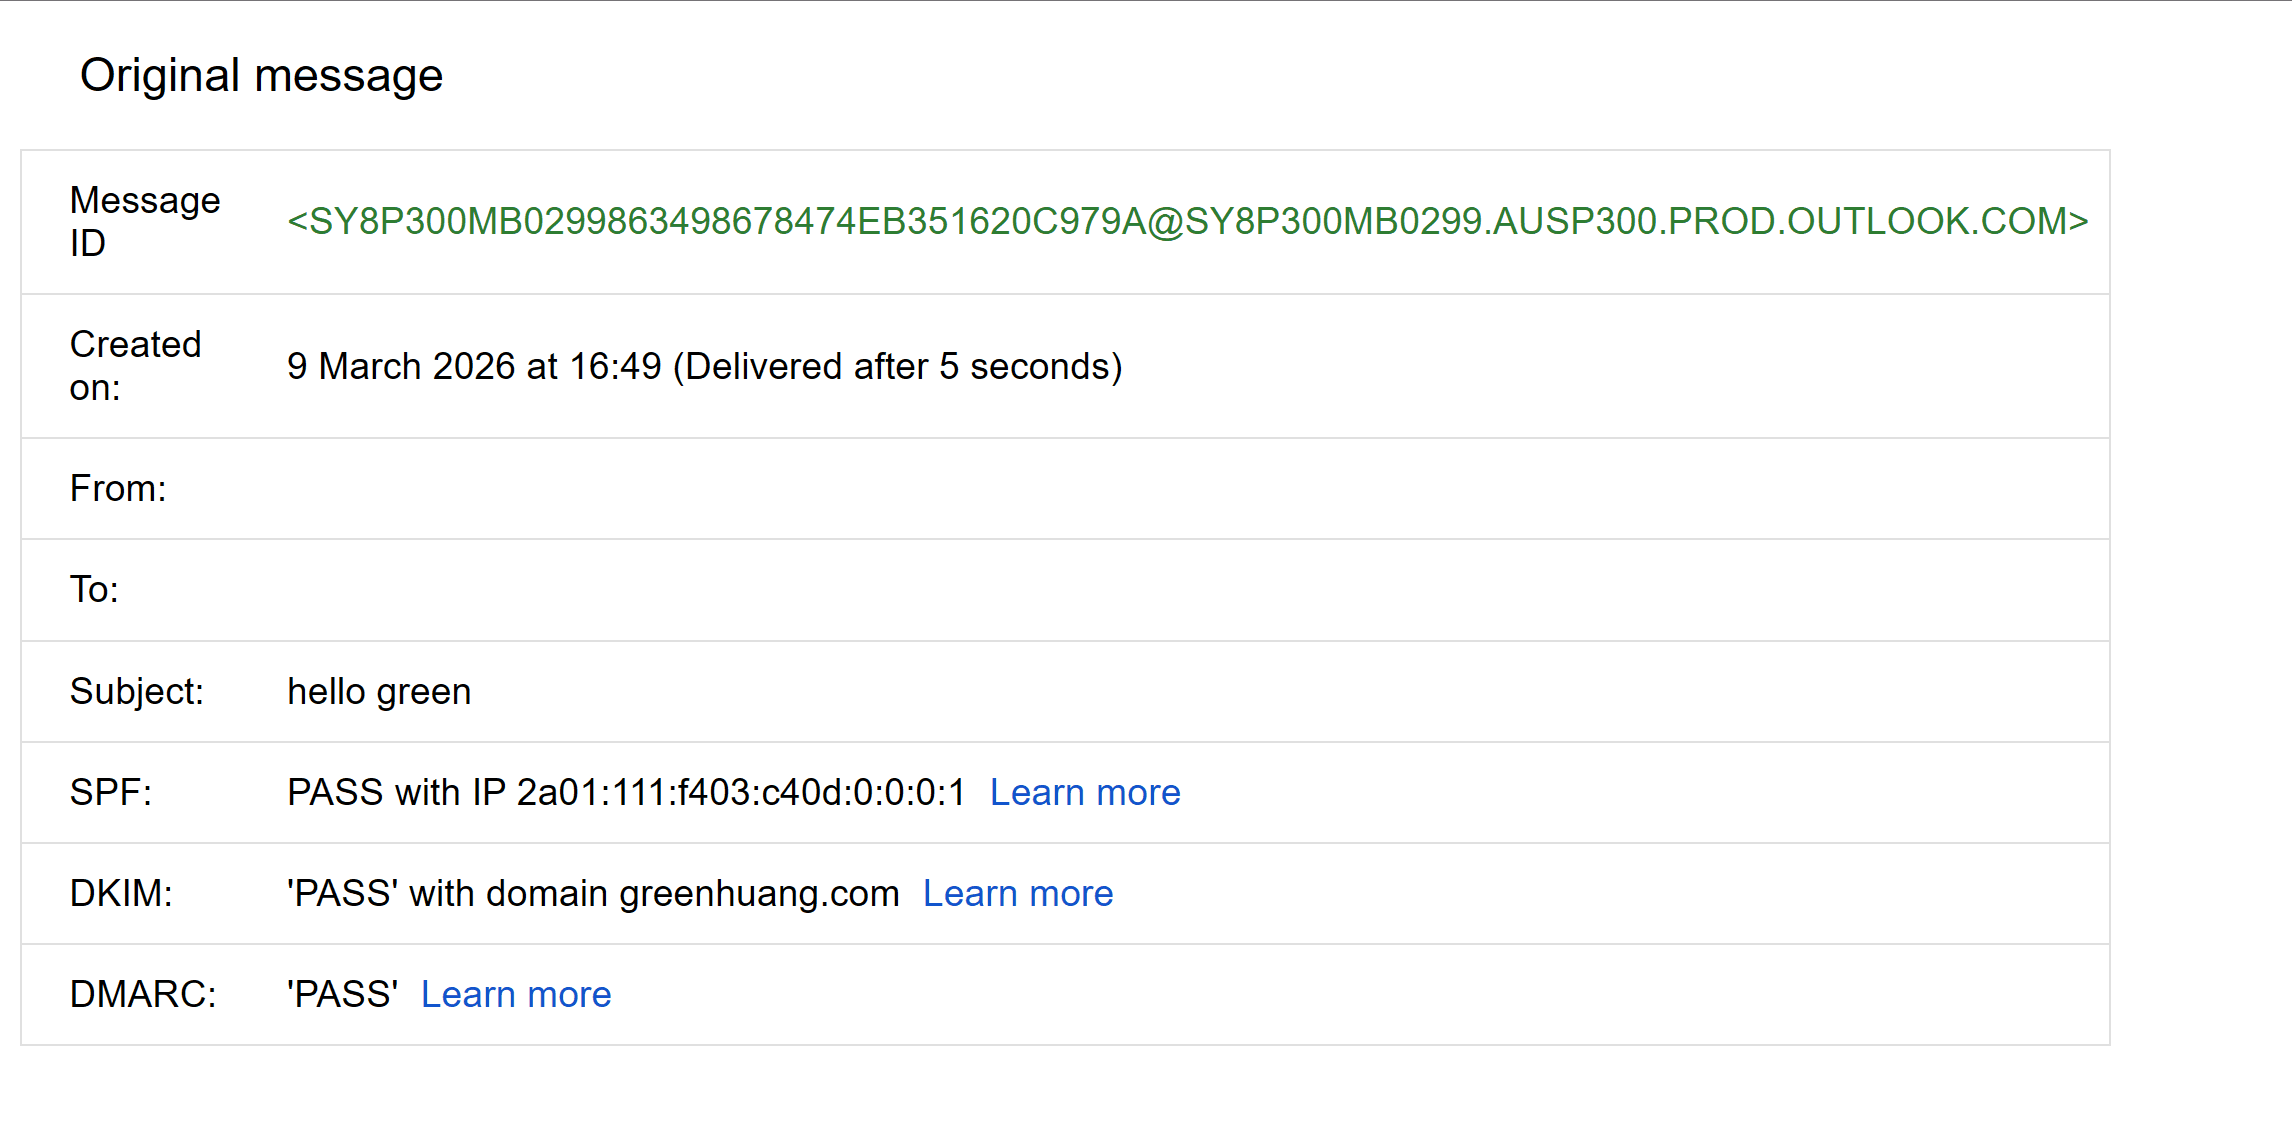
Once SPF, DKIM, and DMARC are configured and DNS changes propagate, your Microsoft 365 tenant will be able to send and receive authenticated email using the custom domain with improved security and deliverability.
Tenant layout
A Microsoft 365 tenant should use a clear mailbox structure so different types of emails are separated and easy to manage. Instead of using a single mailbox for everything, Microsoft 365 commonly uses one licensed user mailbox for login and several shared mailboxes for role-based email addresses. Shared mailboxes allow multiple users to access and send email from a common address such as support@ or info@ without creating separate user accounts
About Shared Mailboxes in Microsoft 365 - Microsoft 365 admin | Microsoft Learn
Tenant
│
├─ Admin accounts
│   ├─ admin@domain       --- global admin
│   └─ breakglass@domain  --- backup global admin
│
├─ User accounts
│   └─ username@domain   --- Main login & communication mailbox
│
├─ Shared mailboxes
│   ├─ accounts@domain   --- Used for registering services
│   ├─ billing@domain   --- financial communication energy bills
│   ├─ m365@domain   --- Microsoft tenant notifications
│   └─ news@domain   --- newsletters, subscriptions, and marketing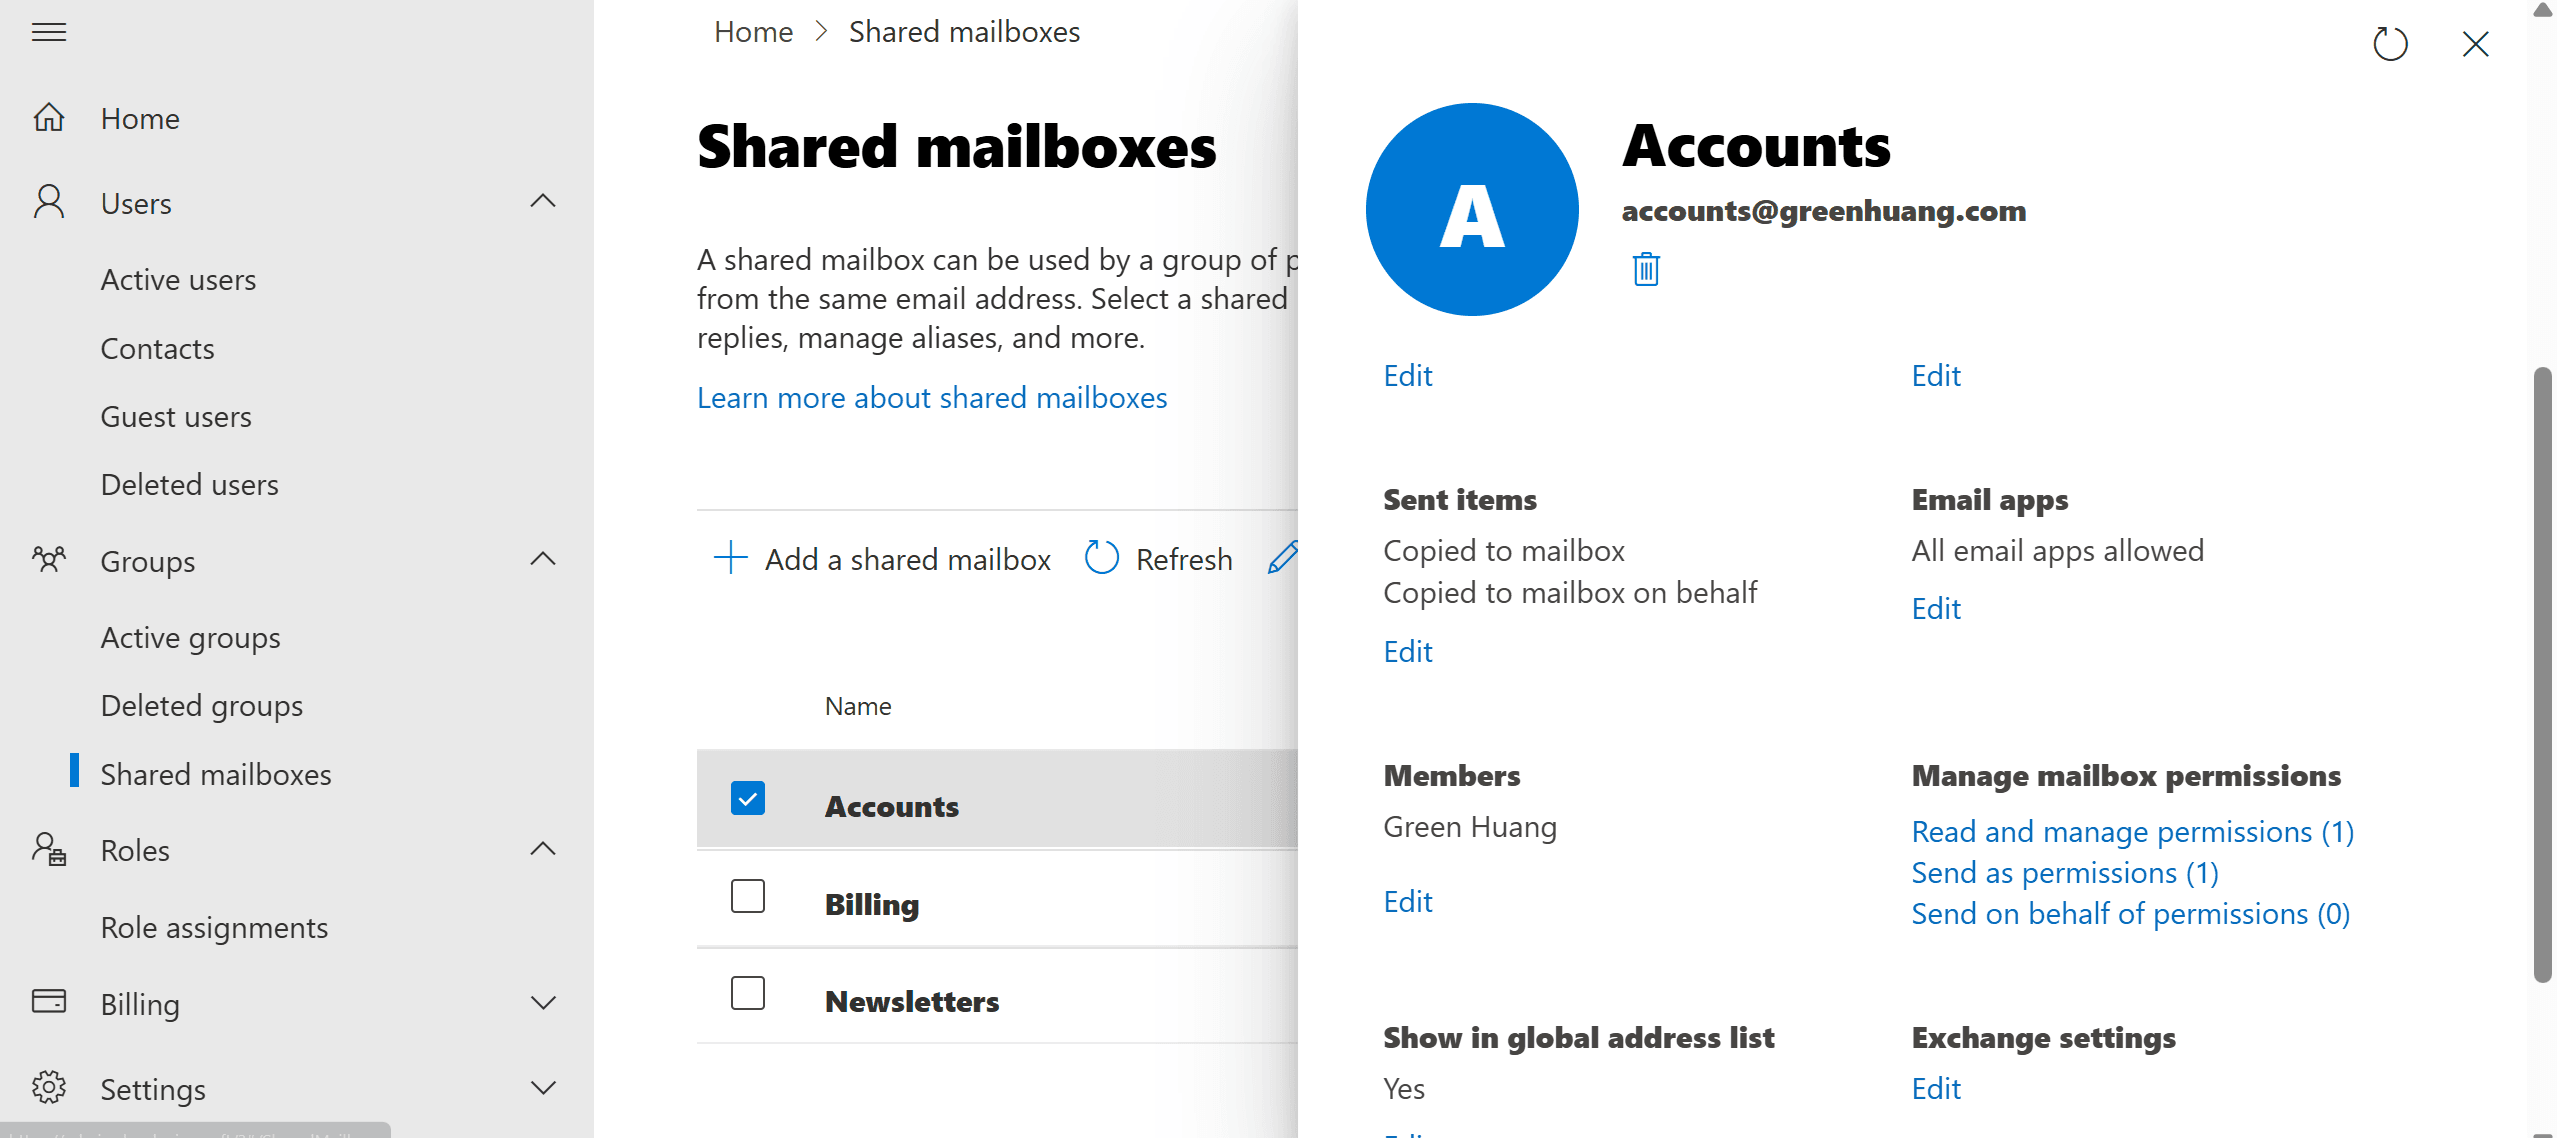
use PowerShell to create mailbox and grant access
# Install module if needed
Install-Module ExchangeOnlineManagement

# Connect to Exchange Online
Connect-ExchangeOnline

# ---------------------------
# VARIABLES
# ---------------------------
$domain = "domain"
# user that need to assign access
$user = "username@$domain.com"


# Shared mailbox list
$mailboxes = @(
    "accounts",
    "billing",
    "m365",
    "news"
)

# ---------------------------
# CREATE SHARED MAILBOXES
# ---------------------------

foreach ($mb in $mailboxes) {

    $address = "$mb@$domain"

    New-Mailbox -Shared `
        -Name $mb `
        -DisplayName $mb `
        -PrimarySmtpAddress $address

}

# ---------------------------
# PERMISSIONS + SENT ITEMS
# ---------------------------

foreach ($mb in $mailboxes) {

    $address = "$mb@$domain"

    # Grant Full Access
    Add-MailboxPermission `
        -Identity $address `
        -User $user `
        -AccessRights FullAccess `
        -InheritanceType All `
        -AutoMapping $true

    # Grant Send As
    Add-RecipientPermission `
        -Identity $address `
        -Trustee $user `
        -AccessRights SendAs `
        -Confirm:$false

    # Enable copy of sent items when sending as the shared mailbox
    Set-Mailbox `
        -Identity $address `
        -MessageCopyForSendAsEnabled $true `
        -MessageCopyForSentAsEnabled $true
}

Write-Host "Shared mailbox setup completed."